Improving and
Detailing Deck Planking
on the Minicraft Titanic Model
by Art Braunschweiger
The Minicraft kit comes with deck pieces in which the planking has
been simulated by fine upraised lines. Many modelers would like to achieve
a greater degree of realism, and there are a number of options to do so.
The primary reason for improving on the Minicraft's decks is not the cast
planking lines, but their spacing. Titanic's deck planks were 5 inches
wide throughout the ship, with the exception of the well deck planks at
6 inches width. This equates to scale widths of less than half a millimeter.
The planking lines on the Minicraft's decks, however, are many times that
size . It's a significant difference that's readily apparent to
a discerning eye.
Most options require removing the planking lines cast onto the plastic deck sections by sanding them down. This is not difficult, and the basic techniques for doing so are not covered here. Two cautions, however. First, wear respiratory protection (a simple dust mask will do). You'll be generating a lot of fine styrene dust that can be easily inhaled. Second, if you're airbrushing, remember that airbrushing applies paint in such a thin layer that any scratches or imperfections will be readily visible. Airbrushing requires an extra-critical eye and working down through progressively finer grades of sandpaper all the way to 4000 grit (not a hardware store item!)
For those who want
to improve somewhat on the appearance of the decks without taking on the
extra work of removing the cast planking lines, the first two options
do not require their removal. More experienced modelers desiring
extra detail, though, should consider one of the other options.
Paint recommendations are not covered here. For detailed information and
recommendation on paint colors to replicate the wood used for Titanic's
decks, see the TRMA Paint Reference accessed through the home page or
here:
http://www.trmaarchive.com/articles/paints/WEBPAGE_Paint%20Reference%20Main%20Page/WEBPAGE_Paint%20Reference%20Main%20Page.htm
It is strongly recommended that you read the Deck Planking section of this reference to understand that material used for deck planking and the general color that should be achieved. While the color of the decking is open to some interpretation, you should strive to achieve a fairly light color. Too dark a color of any hue will neither be accurate nor look realistic.
It should also be noted that the choice of paint color is every bit as important as how the decks are detailed. The stock deck sections from the kit, unaltered but painted a realistic color, will be superior to a "planked" model painted with a poor color choice.
The following options
are listed in general order of easiest to most difficult.
Option #1: Painting to simulate wood grain (with or without
sanding off planking lines)
You'll need a base coat of your choice, then a second, slightly darker
color to simulate wood grain. As outlined by TRMA's Bruce Beveridge, once
the base coat is applied and completely dry, the second color is lightly
drybrushed over the base coat. Drybrushing is a technique in which the
modeler's brush is dipped very lightly in the paint, and then brushed
off onto a paper towel or newspaper until there is virtually none left
- the brush is almost "dry." At this point you can "drybrush" the wood
grain onto the base coat. You should use a wide artists brush, and first
practice your technique on extra pieces of styrene plastic painted with
the same basecoat as you're using on your actual decks. Make sure you
always brush in the direction of the grain. With this method, it's possible
to achieve some very satisfactory results that simulate wood grain.
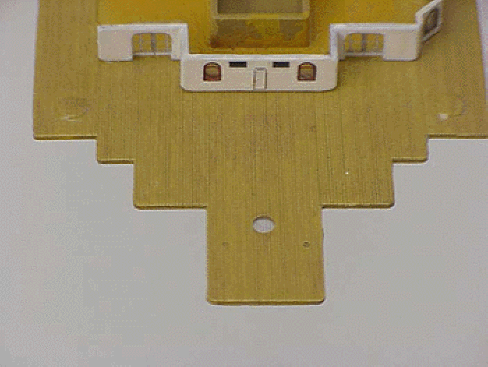
The following photo is from Bruce Beveridge's model. Here, the cast planking
lines have been removed and deck planking decals applied after painting.
(The decals used were printed very lightly to minimize the planking lines.)
Option #2: Simulating wood grain with a wood color marker (with or without sanding off planking lines)
This is one that's been used with remarkable success in this model by Terry Fike, as well as a few other modelers:
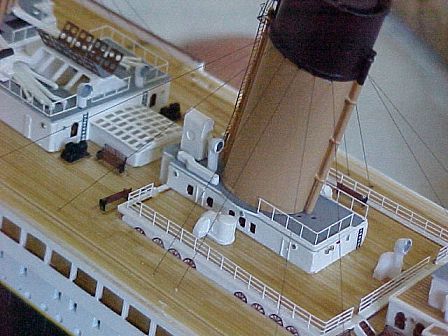
As with the first option, the cast planking lines have not been removed here. Further information on this technique is explained in this article by Cuong Phan:
http://trmaarchive.com/reviews/tools_minwax_cuongp.shtml
Option #3: Sanding off planking lines and applying deck planking decals
In this option, large sheets of deck decals are applied over the painted
decks. The decals precisely replicate the planking lines, which are correctly
sized to scale as to width and length based on 5" planks (the 1" difference
in the well deck planks is negligible.) The extra work to apply the decals
on the painted decks is minimal, but it must be done carefully so that
the decals are cut precisely to size, allowing for the various cutouts
and corners required. The modeler also has to be sure to follow all required
procedures for proper decal application to ensure a smooth, seamless application.
Unfortunately, deck planking decals are no longer available for purchase.
They are, however, available for free download through TRMA. The downloads,
and detailed instructions for cutting templates and applying them, are
available through this page:
http://trmaarchive.com/decals.html
As an option, prior to applying the decals the modeler can drybrush wood
grain on to the base coat. Not all modelers agree with this. Wood grain
would not normally be visible at the scale distance a model is normally
viewed. If you do choose this option, it should be done very finely, so
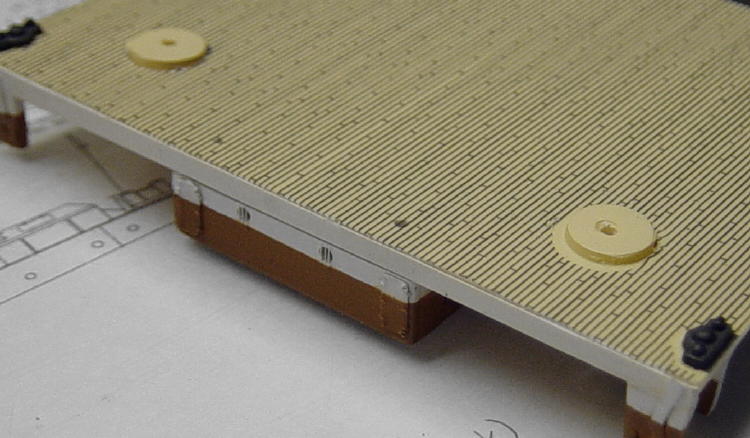
as to be very subtle. The following photograph shows the author's model,
which is decal-planked with a single basecoat only under the decals.
Some modelers also feel that the deck decals are not entirely realistic
because the deck planking lines are overly prominent. While it's true
that the lines at the butt ends of the planks are much more visible in
a decaled model than they appear in photographs of the actual ship, the
overall effect is very pleasing and gives the model a highly-detailed
look.
It should also be noted that applying deck decals uniformly to the entire
deck surface does not replicate the precise manner in which the actual
planks were fitted around vent bases, bitts, and other deck hardware.
(It would actually be quite challenging to replicate the margin planks
and other areas by any means, but the distinction is noted here nonetheless.)
For anyone wishing further specific information on the Titanic's deck
planking and construction, the following research article by TRMA's Roy
Mengot gives additional information and illustrations:
http://www.trmaarchive.com/db/db-02/bruce-1-db-02.html
Option # 4: Sanding off planking lines and applying CAD-printed planking on cardstock
The member
recommending this procedure explains that "it is quite easy to
do with the right CAD program. With the size of a 1/350 or smaller, the
appearance of seams between printed sheets would not be a problem so much
as it is on long decks on the 1/144. (4 sheets of A4 card needed for the
length of the boat deck!) The beauty about this technique is that you
can vary to your own liking the depth of colour used on the plank seams
- opting for a dark grey looks better in scale and when printed
than black for instance. Also, the width of lines themselves is a deciding
factor- I set mine on 1/144 to be printed at 0.01mm, which looks pretty
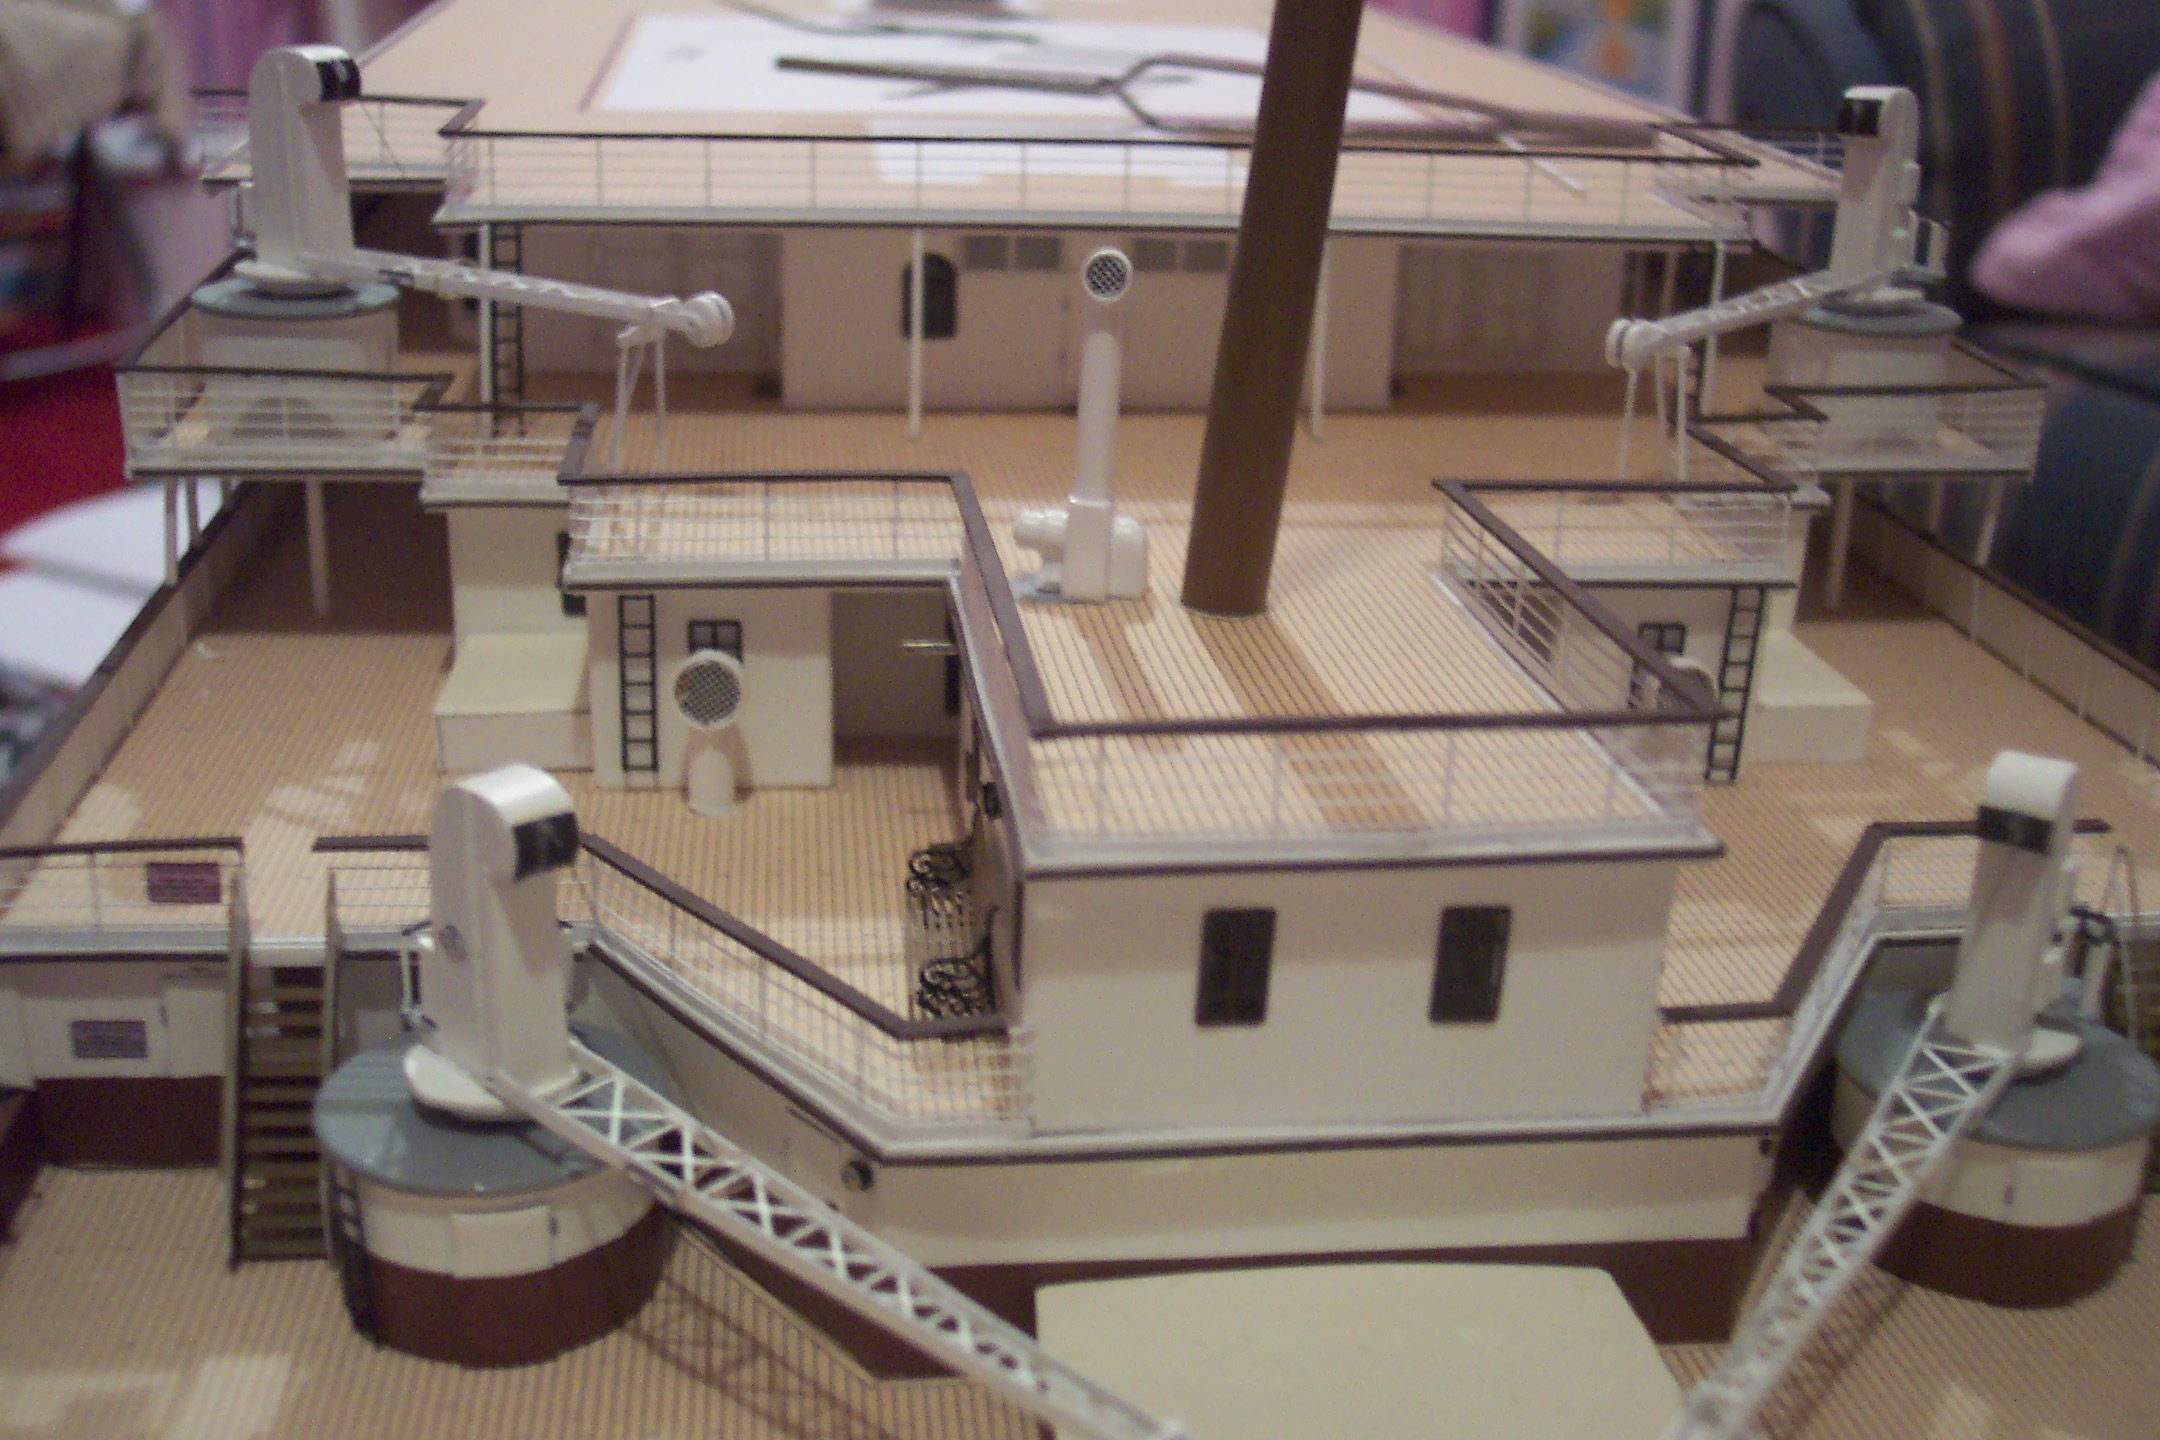
good from a few feet away. The photo below shows how light deck
planking disappears even from a slight distance, something I think as
a plus."
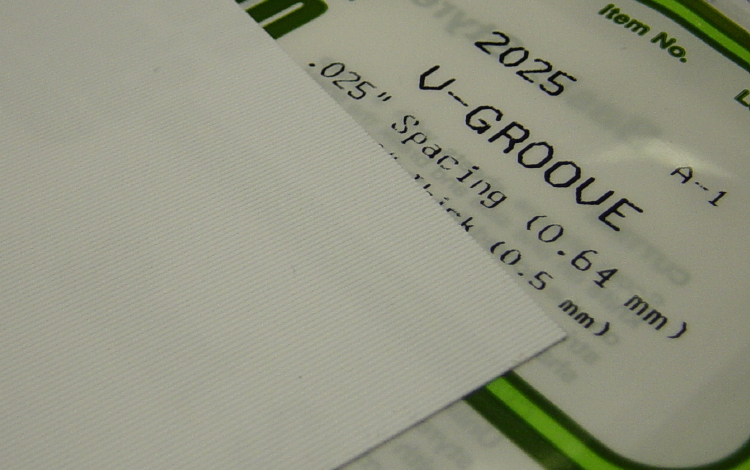
Option #5: Sanding off planking lines and applying V-grooved
styrene sheet
Evergreen Plastic manufactures thin styrene sheet with V-grooves cut into
it. While the distance between grooves is slightly wider than required
for scale accuracy, the difference isn't readily apparent and this material
looks very realistic. For some it may be a slightly less daunting option
than applying decals. The work is no less, though, since the modeler still
has to cut templates out of paper or manila cardstock, and then use the
templates to cut the V-groove sheets. It should also be noted that unlike
decals, V-groove sheet has to be cut to fit outside walls and bulkheads
or the additional thickness of the sheet material will not allow the various
deck levels to fit together properly. The only exception to this is the
uppermost (Boat) deck, where the additional thickness under the deckhouses
makes no difference.
Painting V-groove styrene is done the same as outlined above, except that
it should be painted after cutting.
Option #6: Sanding off planking lines
and scribing new lines
In this option, after sanding off the existing planking lines new lines
are scribed onto the deck surface before painting. The procedures for
this technique are covered in detail here, in an article by TRMA's Jerry
Davidson:
http://www.trmaarchive.com/howto/scribing/scribing.htm
Note that with this option, it's theoretically possible to correctly detail
all the margin planks and planking joints as they were actually constructed
- but if you decide to do so, you're up for quite a challenge!
Option # 7:
Sanding off planking lines and applying wood
veneer
In this option,
wood veneer or wood marquetry - as in this model by Barry Smith - is laid
over the original decking.
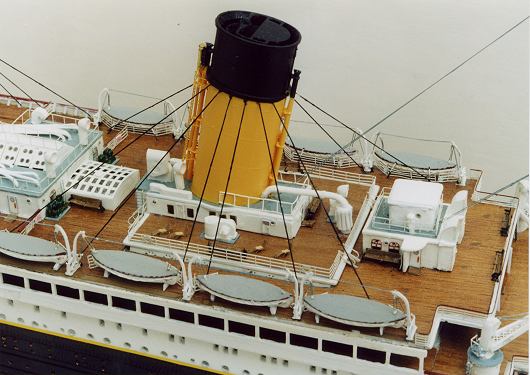
As with the wood color marker technique (Option # 2) the modeler has a wide range of finishes and woods to choose from.
This is also the
technique used by Peter Davies-Garner in his 1:48 scale Titanic model.
The techniques and materials used by Peter are covered in his book RMS
Titanic: A Modelmaker's Guide.
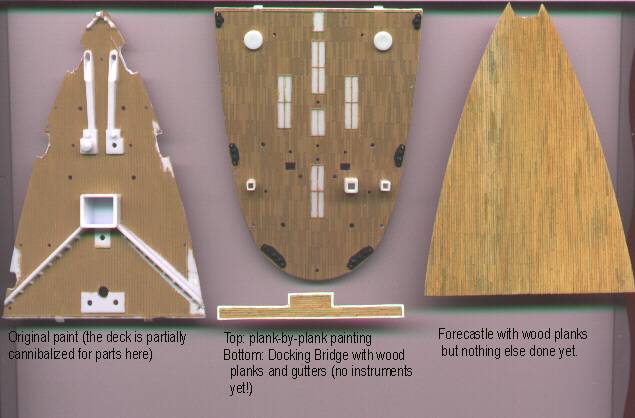
Option #8: Sanding off planking lines and applying individual
planking strips
This is the most advanced option requiring the greatest overall skill,
but quite possibly one that yields the most superior results. Step-by-step
procedures for this option are covered in this TRMA article by Diane Law:
http://trmaarchive.com/articles/article7/article7.htm
Whatever option you choose should be based on your level of expertise,
and remember to practice first before doing it for real on the decks from
your actual model.
copyright 2006 Titanic Research & Modeling Association
